|
|
||||||
Since we purchased N3506X we had to put up with a terrible windshield. It was the original and was terribly crazed and hazy. When the sun would hit it just right, it was like looking through a diamond and you couldn't see a thing. On a good day it was still hard to see through the glass. However, the high price of replacing the windshield kept us from doing anything. We had two choices: 1) OEM 201 Windshield at a $6,500 installed price, or 2) South West Texas Aviation's 201 Windshield at a $4,500 installed price tag. Then one day in the MAPA Log, SWTA had a deal for their 201 Windshield kit at $895. A quick call to my mechanic made me realize that we couldn't let this deal go by especially if we did the work. So, we jumped in and purchased the kit. A week later it showed up in a box and we started work.
It turned out to be difficult to remove the existing windshield. Being a good mechanic is all about the tools and we needed some more. The hard part was getting a socket or wrench on the nuts to remove the retainer strip. Many of the nuts are in extremely hard to reach places. The tools that allowed us to get the nuts off were two small universal joint sockets back to back to allow some contorting to get on the nut. Also a good small open-end wrench and some scraped up forearms later, the old windshield was out. It is important to make sure you number the clips on the inside so you can replace them in the same position later. What worked out great for us was to use a permanent marker to number each clip along with taking detailed pictures on the inside. We went back to the pictures multiple times to make sure we put them back in the same position when the new windshield went in.
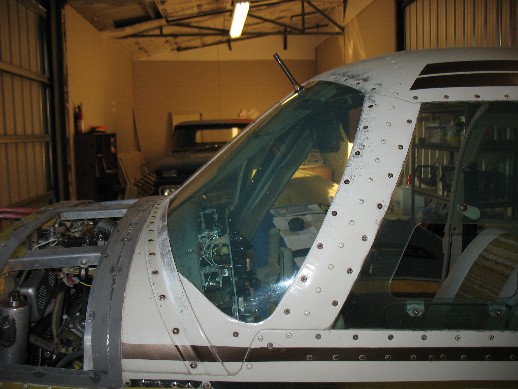
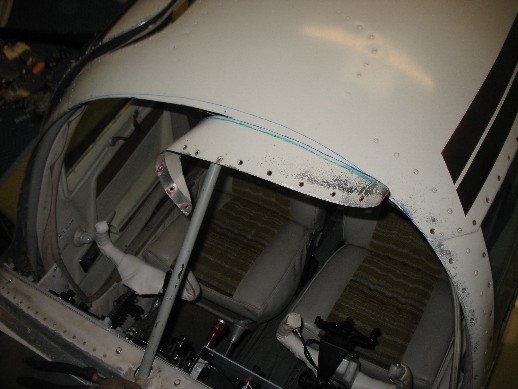
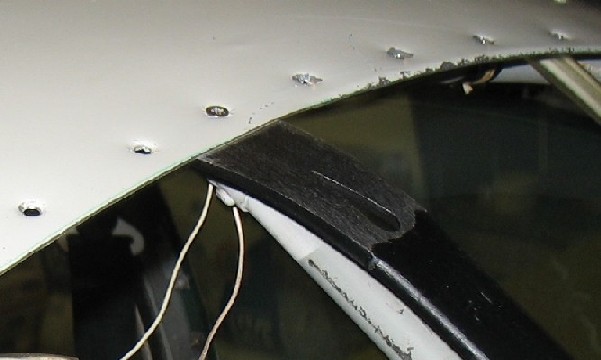
Above, old windshield freshly removed with the old sealant.
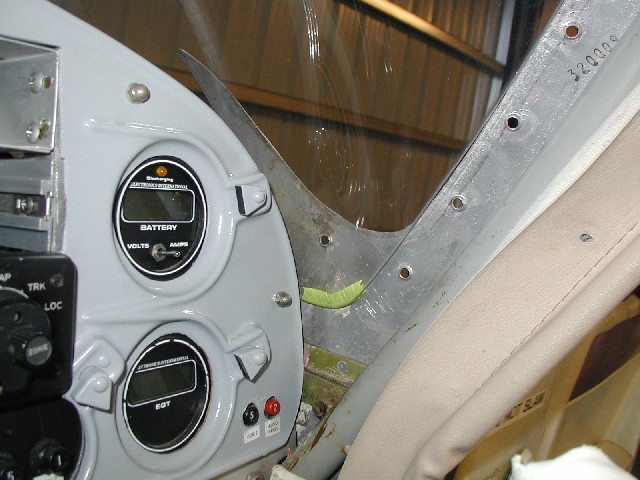
Sealant cleaned off. New windshield placed on top to get the contour of where to cut the skin on the top and get a feel of how the it would fit and look when installed.
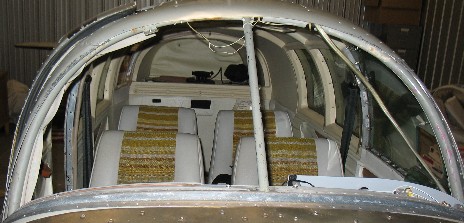
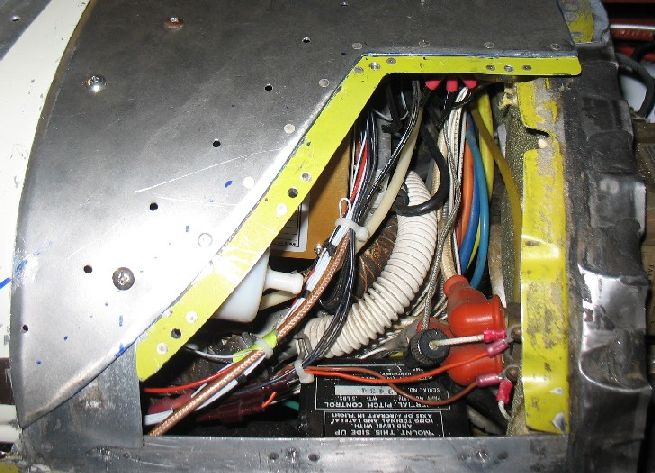
Inside co-pilot side. The windshield will pull back in tighter; this was just a look at how it would fit.
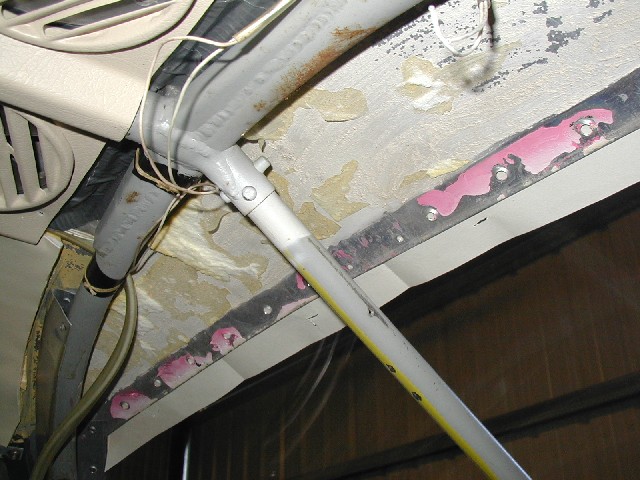
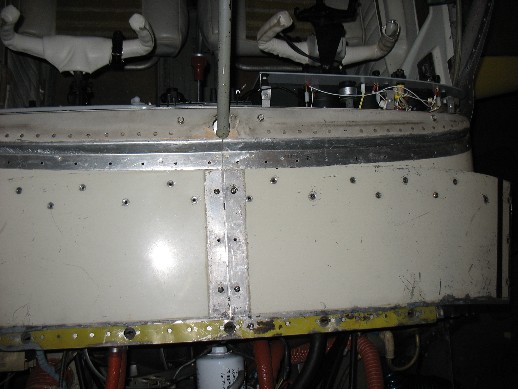
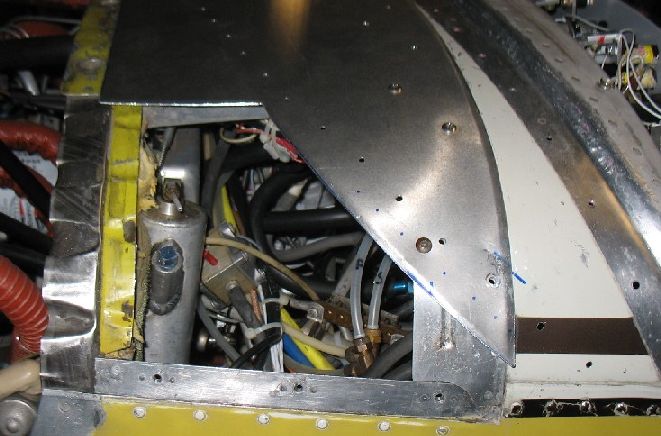
Inside looking up the section of the fuselage that will be cut out.
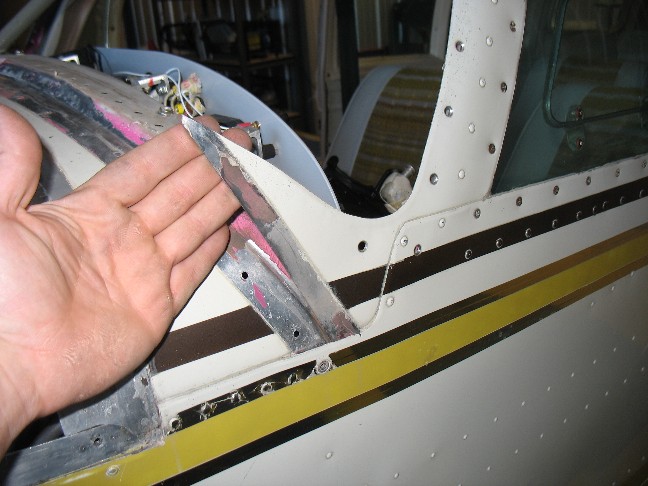
This piece gets trimmed down. Notice the screw hole that will be used to hold in the new windshield. It is okay to trim this piece down as long as you keep the screw hole in place.
Trimmed.
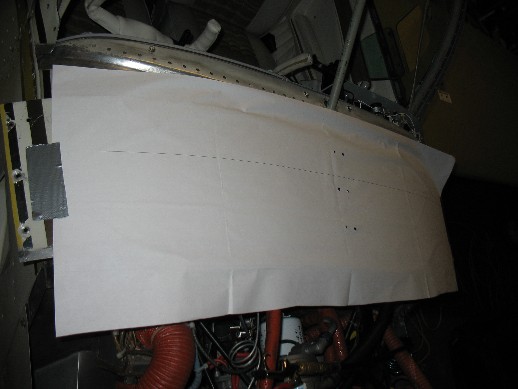
The kit instructions say to just make new access panel cut outs of from the existing access panels. However, the instructions suggest fabricating a new piece if the existing one is worn. We wanted to remove the potential leak at the center of the panels and clean up the whole look and structural integrity of the access panels. So we opted to fabricate a new cover with access panels. To do this, we put the old ones in place and created a template out of paper to help make sure the new piece was the correct size and screw holes in the correct location.
Template taped down and middle screw holes located.
Template with all screw holes located.
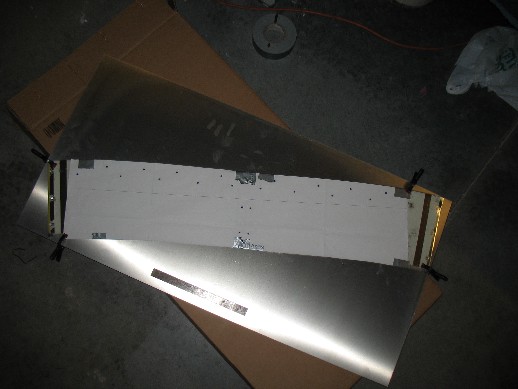
New piece of aluminum with template clamped down ready to trace.
New piece fits perfectly. This was cut out using a very cheap pair of "aviation cutters" better known as "tin snips" purchased at a local discount hardware store.
This was the scariest part. First, it was difficult to get the correct tracing figured out. Luckily I had another plane I was able to look at that had the STWA 201 windshield installed and I could see how they did it. I was tempted to take more off but was scared that if we messed up and took too much off, we would then have to replace the entire top of the fuselage. We settled on a trace and then just started very slowly cutting it out. Somehow, it went very smoothly (1/8" at time) and it came out great!
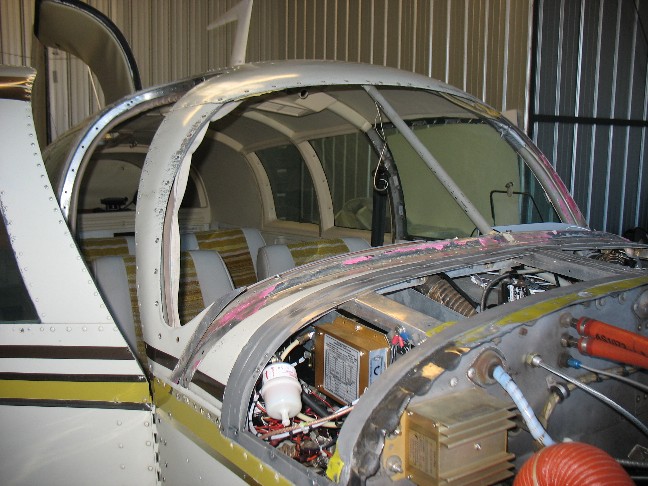
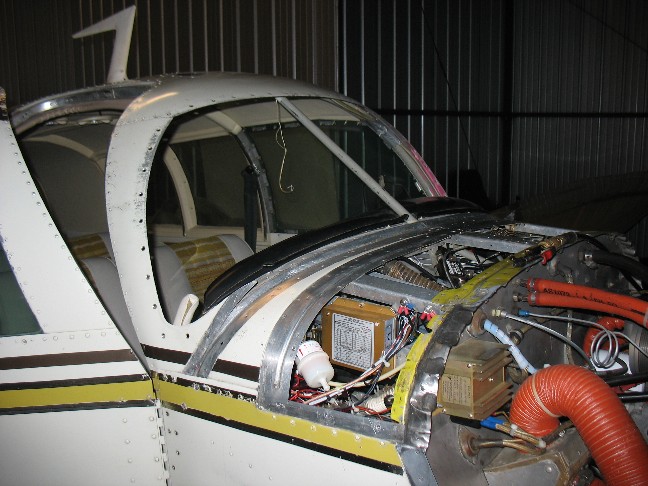
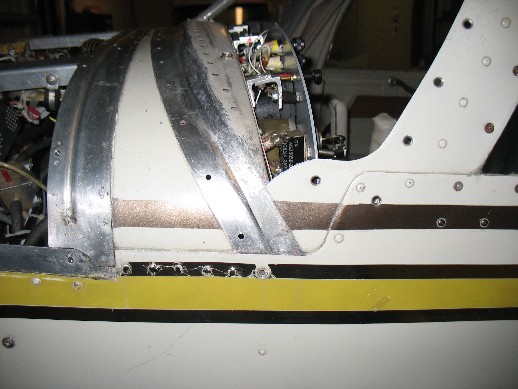
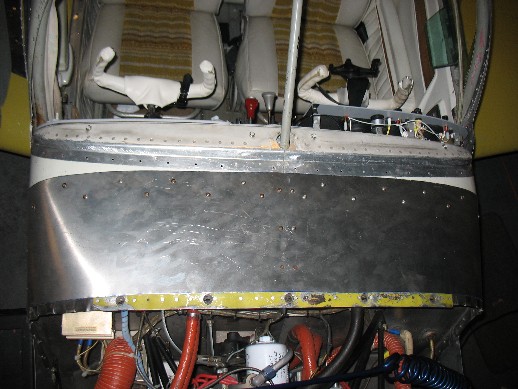
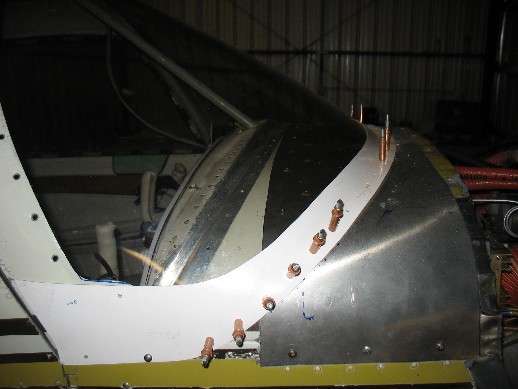
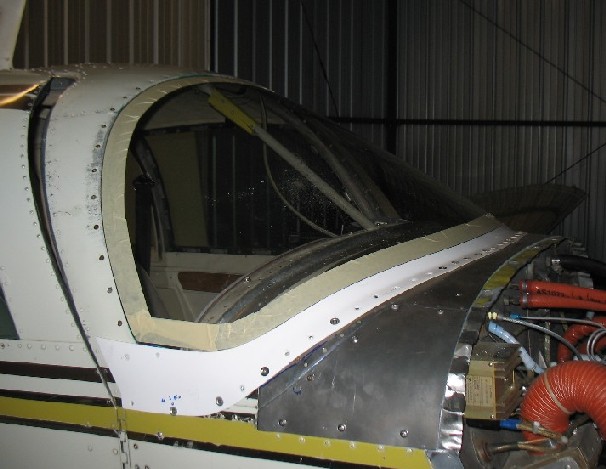
New front view with the top cut out. Already you can have better visibility with the center post stripped down to just the tubing and the top section removed.
Next step was to install the new windshield in place and then start placing the retainer strip. First we took our time getting the windshield in as snug as possible and balanced on both inside corners so there was identical window hangover past the screw holes. The bottom inside corners do not fit as tightly as the old windshield and if you don't get it positioned just right, you will not have enough windshield to be able to drill the holes. Once in tight and snug, we then started with the retainer strip. Holding the strip in tight in the middle, we drilled a hole and installed a cleeco. Working our way out from both sides we would drill a hole and install a cleeco. MISTAKE! Here was our main or only mistake. After drilling it all out and we found it very hard to get the sides of the retainer strip to hold in tight to the windshield and we had a big gap. Calling up SWTA and discussing the problem, we found that they suggested beveling the edge of the glass to allow the retainer strip to pull in tighter. We went back and did this but because we had already drilled out the holes it only helped a little. To do this right, we should have first beveled the edge of the glass and got the retainer strip to sit very tight - then drilled it out correctly. I'm sure this is going to plague my mind and before we paint the plane in the distant future, will redo the retainer strip. However, after complete installation is done, it is clear it is not going to leak as the sealant takes up the gap, it just doesn't look great. So this is more cosmetic at this point than anything else. A good coat of paint will help it look better.
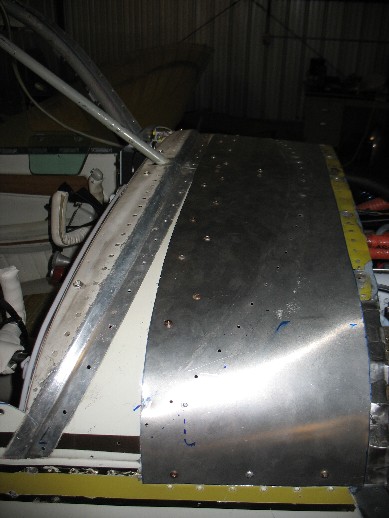
Holes all drilled ready for access panels and rivnuts.
Cut out new access panels. Used same "aviation cutters" to slowly cut out the panels. Bent the first 1/16" to 1/8" edge down a little to help with stiffness and tight fit. Pilot side.
Installed doubler - co-pilot side.
New access panels ready to go. Rivnuts installed. If I can suggest one tool an airplane owner needs to own it is a rivnut kit. I purchased my rivnut kit from a discount hardware store for $16. It is the best money I have ever spent on a tool. Co-Pilot side.
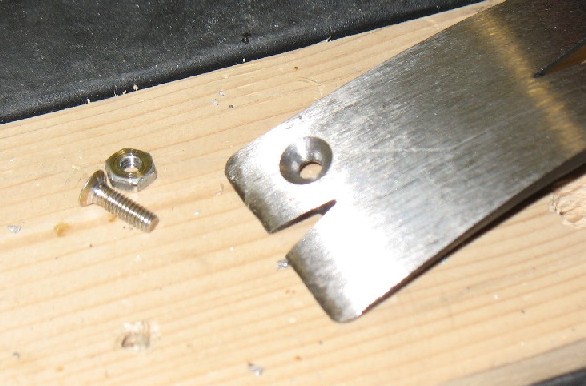
We needed to dimple the skin but didn't have the tools. I quick call to SWTA and they had me on the right track to make my own tool. I just took a "Wonder Bar" and drilled and then countersunk the hole. Just make the countersink deeper than you want the finished product by the thickness of the skin. I had some old cut out pieces that I was able to use to test the machine. When done, taking a screw, nut, and new tool I was able to put it together and tighten the screw down and the skin pulled right into the countersunk "Wonder Bar". The finished product looked perfect.
Dimple tool in action.
Compass and Sun Visor bracket installation.
New windshield in its final location, all holes drilled and fastened in place. Taped off windshield to allow easy clean up of sealant. TIP - use a lot of masking tape. Looking back on it now I would have used twice as much or more masking tape. It would have made a huge impact on reducing clean up time. The sealant is a mess and very difficult to clean up. The sections where the tape was installed were quickly cleaned up. So use more tape!
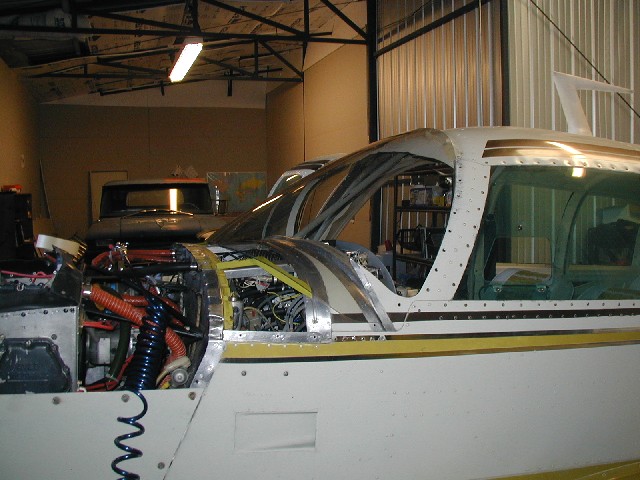
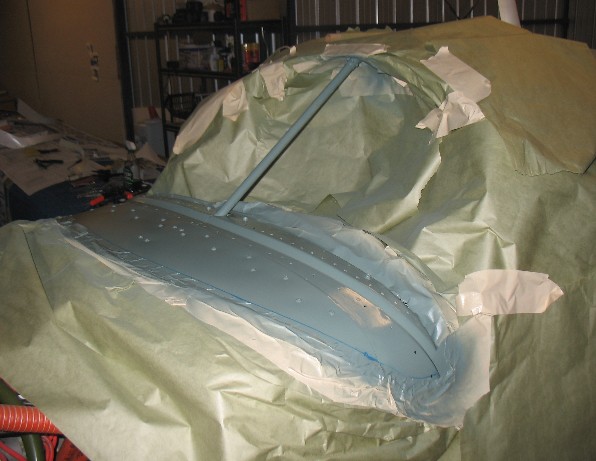
Masked off cowl deck and center post and primered with self-etching aluminum primer.
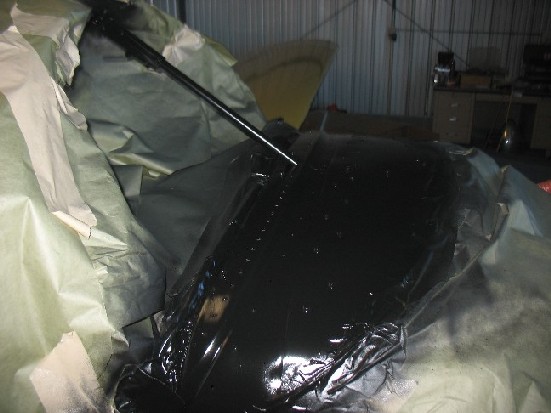
Simi-Gloss Black painted and ready to go.
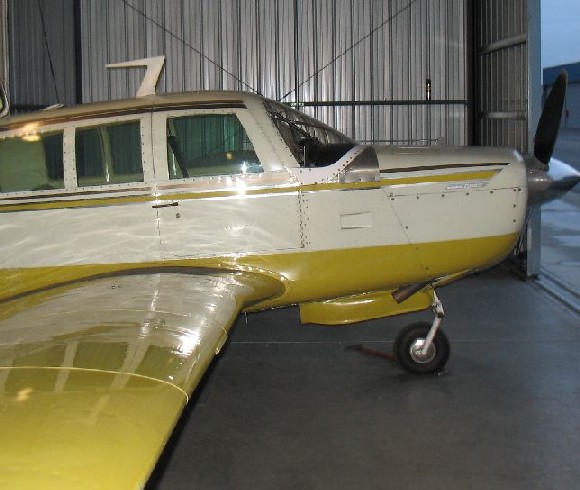
Final install, sealed and ready to go. Co-Pilot side.
Pilot side.
This project took a lot of time but was hugely rewarding. Here are the benefits that we found: 1) Much better looks - ramp appeal. 2) Tremendous improvement in visibility inside. 3) Feeling that the cabin is bigger and you are not pressed up against the windshield. 4) Cowl deck space. I can now put charts up there and they don't fall down! 5) Vent airflow. Prior to this installation, the front above vents trickled just a little air. Now it blows your hair back. This was an unexpected HUGE improvement in cabin ventilation and cooling. 6) Speed. We recently did flap gap seals so between the flap gaps and this windshield installation we have seen a true increase in speed of around 6 knots. Check out the speed check section to see the results. Four point GPS ground speed checks at 4,500 feet are consistently between 156 to 157 knots. Prior to the flap gaps and 201 windshield we were seeing 150 to 151 knots.
|
||||||
|
|
||||||